Well, howdy! The water in this dishwasher no longer drains, so I’m going to try to fix it. I want to get this fixed before our dishes get too backed up, but I don’t know what’s causing the water to not drain. So, I’m going to have to figure that out.
Step 1: Identifying the Problem Areas
When a dishwasher gets backed up, it’s not just an inconvenience; it’s a puzzle that needs solving. There are three critical places that you’re going to want to check for problems:
1. The Filter System: The Heart of Cleanliness
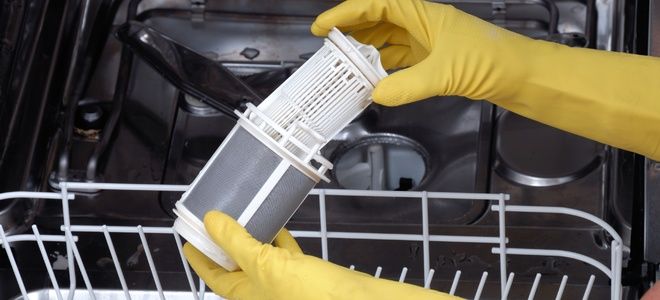
The Filter System is usually located underneath the washer blade. It’s the first place to inspect, as it’s often the culprit behind drainage issues.

Checking the Filter System
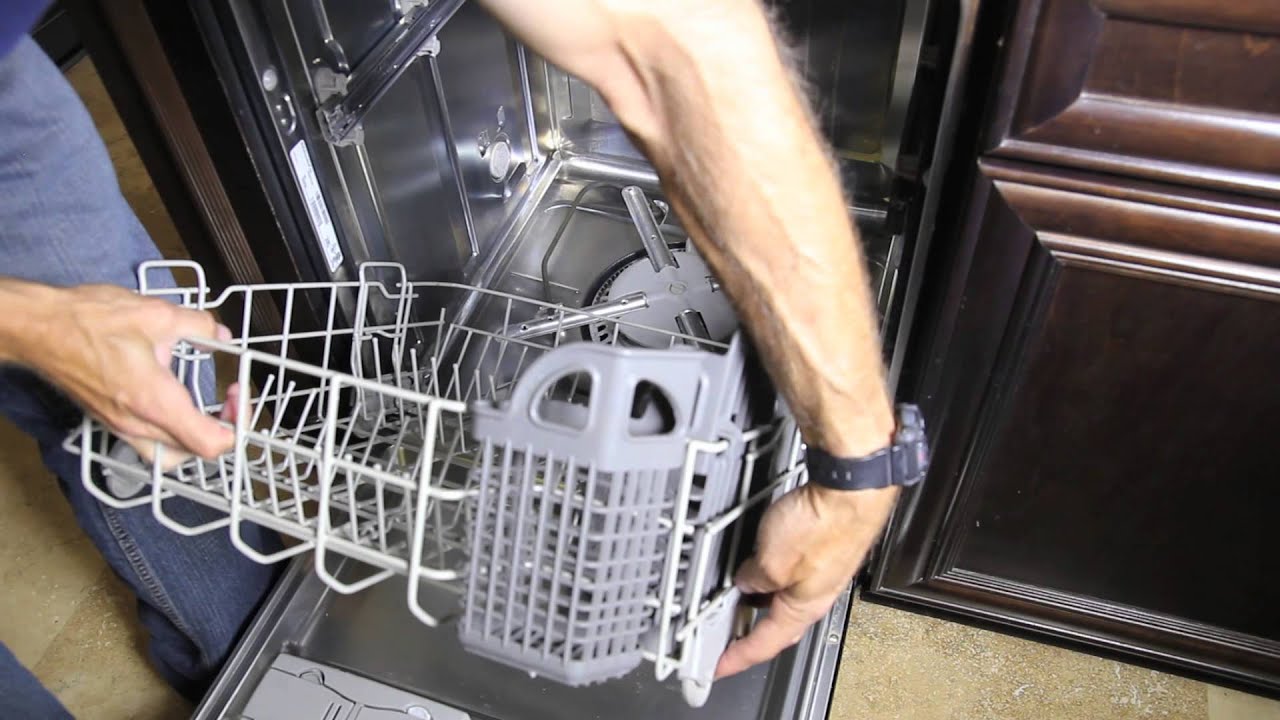
The first step in my investigation was to look at the filter system. To get to the filters, I drained the water with a cup and bowl. As I was doing this, I thought there was a beetle swimming around in the water, but it was actually a melted Lego cap from one of my kids’ Lego toys. It probably got melted on the heating ring that surrounds the washing blade, or we just killed Emmett from The Lego Movie. Turns out that not everything is awesome, especially getting melted in a dishwasher.
Assuming Blockage in the Filter
Because of the toy hat discovery, I assumed that there might be other toys blocking the filter, and that’s probably why it’s not draining. Once I got the water cleared, I took some time to wipe everything down and make sure I wasn’t missing anything. As I cleaned, I looked for anything that might block the filter or get in the drain.
2. The Drainage Hose: The Pathway to Disposal
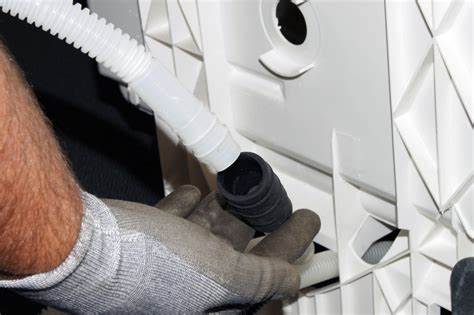
The Drainage Hose is another critical area to inspect. It’s connected to the garbage disposal and serves as the pathway for dirty water to exit the dishwasher.
Inspecting the Filter and Drain
I didn’t find any problems with the drainage hose, so I moved on to untwist the filter and make sure that it was all clean. Surprisingly, it was. I reached inside the filter cavity and checked for any objects, but there was nothing there, so I decided to further drain the water to get a better look.
3. The Pump: The Power Behind the Process
The Pump, the motor that pumps the water out, is the last place to check. It’s the powerhouse that ensures the water flows in the right direction.
Digging Down Deeper
I decided to remove the larger filter, and although it was really gross, there was nothing out of the ordinary. However, I did find three of the shells from those pods that you use to wash your dishes. The shelves from the wash pods can build up and plug up your drains, so I made a mental note to check for those in the future.
Step 2: Cleaning the Garbage Disposal and Drainage Hose
The dishwasher is more than just a machine; it’s a complex system where clean water goes through the bottom hose, cycles through the dishwasher, and the dirty water is flushed out the drainage hose into the garbage disposal. It will then go through the garbage disposal out to the main drain. This process might seem simple, but when something goes wrong, it requires a careful examination.
1. Looking for Obstructions: The Detective Work
Looking for obstructions is a critical part of the process. It’s like detective work, where you need to find clues and solve the mystery.
Examining the Drainage Hose
For this next step, I’m going to be looking for any obstruction in the drainage hose. It looks like there’s some debris where the hose might be connected to the disposal. To get that out, I’m going to run a load on the dishwasher and turn on the disposal. This is a common trick that often works, but in this case, it was not enough.
2. Taking Apart the Drainage System: The Surgical Procedure
Taking apart the drainage system is not for the faint of heart. It’s a surgical procedure that requires precision and care.

Investigating the Connection to the Disposal
After 30 seconds, nothing drained, so I knew I needed to take it apart and make sure nothing’s blocking it. There’s a lot of debris in the connection to the disposal, so I’m also going to check the drain pipe to the main water line. This is where things can get messy, but it’s a necessary step in the process.
3. Cleaning the Drainage Hose and Disposal: The Cleanup Operation
Cleaning the drainage hose and disposal is the final step in this phase. It’s the cleanup operation that ensures everything flows smoothly.
Removing the Junk
I cleaned out the holes; there was a lot of junk, but there was nothing solid in there that would have prevented the hose from flushing out. This was a relief but also a puzzle. Where was the obstruction?
Checking Inside the Disposal
So the next step is to check inside the disposal and clean out the drainage hose. This is where you might find hidden obstructions that are not visible from the outside. It’s a meticulous task that requires attention to detail.
Step 3: Cleaning the Pump
The pump is the heart of the dishwasher’s drainage system. It’s where the magic happens, and the water is propelled out of the machine. But when it fails, it’s time for some serious detective work.

1. Preparing for the Operation: Safety First
Before diving into the pump, safety is paramount. I’m going to first drain all the water, then turn off the water line, and then flip the breaker to kill any power going to the dishwasher. I’m going to test the washer to make sure there’s no power, then I’ll need to remove the two bracket screws that are holding the dishwasher in place.
2. Removing the Dishwasher: A Delicate Procedure
Removing the dishwasher is a delicate procedure that requires care and attention.
Undoing the Bolts and Tabs
I’m going to lay on the floor and undo the two bolts or tabs that are holding the dishwasher cover in place. This is a task that requires patience and precision.
Disconnecting Essential Components
I’m now carefully going to pull the dishwasher forward until I feel tension, then there’s three things that I’ll need to disconnect to remove the dishwasher:
- Water Intake Line: The lifeline of the dishwasher.
- Drainage Hose: The pathway for dirty water.
- Power Junction Box: The electrical connection.
3. Inspecting the Pump and Drain: The Investigation
Now comes the investigation. I can get a better view of how this works. The clean water comes through here and is flushed out this drain through this drain pump. This gray thing is the tiny motor that pumps the water out through the drain. I’m guessing this drain is going to be plugged up, but as I looked into it, it was totally clean, and I’m starting to run out of options.
4. Finding the Root Cause: The Discovery
With no other choice, I’m going to look inside the pump, and my friends, I’m happy to tell you that we found the root cause of all of our problems. It looks like a piece of a plastic fork broke off, or it’s a vampire tooth. This probably broke off during a wash cycle, which prevented these pump blades from spinning and flushing out the drain hose to the garbage disposal, which then would have caused the dishwasher not to drain.
Putting It All Back Together
With that piece of a plastic fork out of there, it should drain without any problems, so now I’m going to put it back together and run another wash cycle. As you put it back, make sure the insulation is tucked in and covers the dishwasher, as it helps it run more quietly. Also, take a minute to clean the floor and space around the washer, as it can get really dirty.
Ensuring Proper Installation
The last two tips are to make sure the hoses aren’t kinked or smashed and also make sure that the dishwasher is as level as possible. It’s also critical that the drain hose is on securely; otherwise, water will spill everywhere.
Conclusion: Success and Lessons Learned
It’s all put back together, so I’m going to turn on the water line and the power, then I’m going to run a clean cycle on my dishwasher to make sure the problem is solved. When the cycle is finished, I opened it up, and everything had drained correctly. This is great because not only did we save about $400 from having a repairman come to fix this, but we also now have the skills to go out and help someone else. This is also a good reminder that we clean our appliances so they last longer, and we can avoid so much fear and doubt over so small a thing like a plastic fork.
Now go out and help someone else, and have a great day!


