Why is my dishwasher leaking? This is a question that plagues many homeowners. In today’s guide, we’ll explore the most common causes of a leaky dishwasher, specifically focusing on Whirlpool models. Let’s dive in!

Common Causes of Dishwasher Leaks
1. Drain Hose Issues
Why is my dishwasher leaking from the drain hose? This is a question many homeowners find themselves asking. One of the most common culprits is the actual drain hose. This vital component, located underneath your sink, feeds into your garbage disposal or plumbing system.
A leak in the drain hose can be a sign of wear and tear or improper installation. Over time, the hose may become brittle or cracked, leading to leaks. If you notice water pooling underneath the sink area, it’s time to inspect the drain hose.
Here’s what to look for:
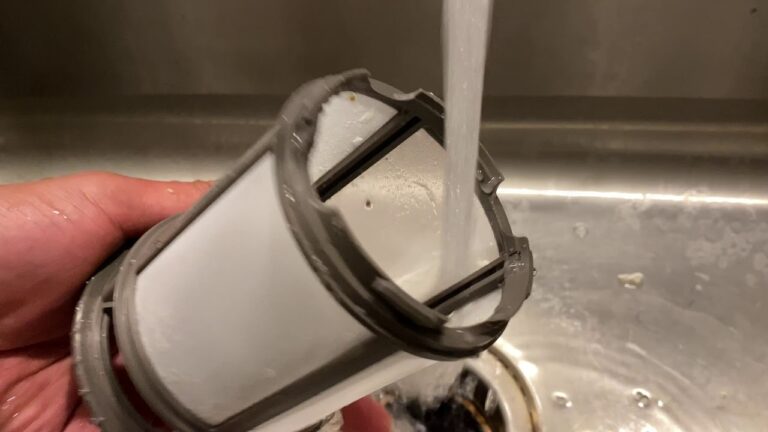
- Visual Inspection: Check for visible cracks or damage to the hose.
- Physical Examination: Feel the hose for wet spots, which may indicate a leak.
- Connection Points: Examine where the hose connects to the sink or garbage disposal, as leaks often occur here.
Solution: If a leak is detected, you may need to replace your drain hose. Here’s a step-by-step guide to help you with that.
2. Leaks from Underneath the Dishwasher
If the leak is coming from underneath your dishwasher, it’s essential to conduct a thorough inspection. Here’s what you need to check:
- Drain Hose Connection: Examine where the drain hose connects to the drain assembly. A loose connection or worn-out clamp may cause a leak.
- Rubber Hoses: Inspect the rubber hoses clamped down and looped up to your pump housing. Though it’s uncommon for these to leak, a small puncture or loose clamp can lead to problems.
- Water Inlet Valve: This valve, located on the lower left-hand corner, is where all of your water enters the system. If your leak is near the front left, you may have a loose fitting or a worn-out seal.
Solution: Tightening the connections, replacing clamps, or sealing the fittings with Teflon tape may resolve these issues.
3. Pump and Motor Leaks
The pump and motor are central to your dishwasher’s operation, and leaks here can be more complex. Your motor connects into the pump housing and shoots straight up into the center portion of your dishwasher.
Here’s what to look for:
- Motor Housing: Wait several hours after running the dishwasher to check for leaks, as the motor gets hot. Feel around the housing area for wet spots.
- Seal or Gasket: In between the center portion and the base of your dishwasher is a seal. Over time, this seal may become loose or worn, leading to leaks.
- Spray Tower Connection: This part connects to the spray tower and may become loose over time. Make sure to tighten it back down and reseat the seal or rubber gasket.
Solution: Replacing the seal, tightening loose parts, or replacing the motor (if it’s the source of the leak) can resolve these issues.
How to Diagnose and Fix the Leak
Step-by-Step Inspection and Repair
Diagnosing and fixing a leaky dishwasher is a task that requires careful attention to detail and a systematic approach. Here’s a step-by-step guide to help you through the process:
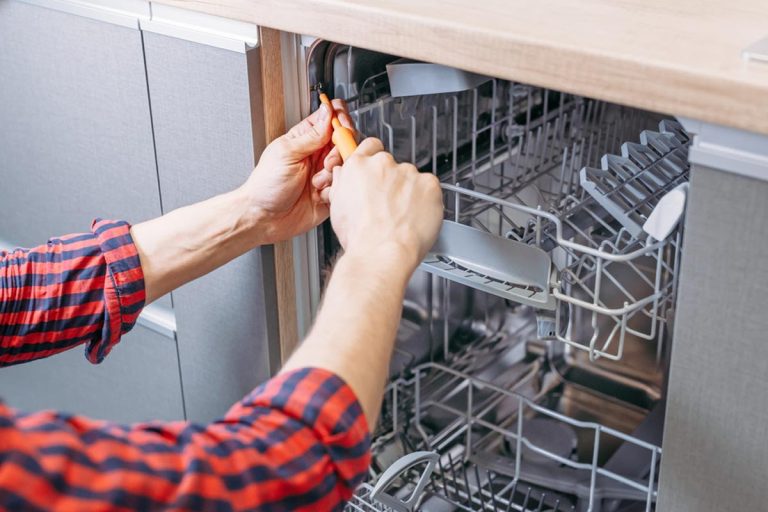
1. Remove the Phillips Screws
- Tools Needed: A Phillips screwdriver with a magnetic tip.
- Procedure: Carefully shift the bottom part out to release it from the top plate. The magnetic tip helps in holding the screws, preventing them from falling.
2. Access the Parts
- What You’ll See: Now you have much better access to all the parts underneath your dishwasher, including hoses, clamps, and fittings.
- Caution: Ensure that the dishwasher is turned off and unplugged before proceeding.
3. Check for Leaks
- Tools Needed: A flashlight or a headlamp.
- Procedure: Use the flashlight to inspect the hoses, clamps, and fittings. Look for wet spots, drips, or signs of corrosion that may indicate a leak.
4. Tighten Loose Parts
- Tools Needed: An adjustable wrench or pliers.
- Procedure: If you find any loose parts, carefully tighten them with a wrench. Be gentle to avoid over-tightening, which can cause damage.
5. Replace Damaged Parts
- Guidance Available: Follow the step-by-step replacement videos in the comments section for detailed guidance.
- Tips: Take photos before disassembling anything, so you know how to put it back together.
Run a Test Cycle
- Preparation: Leave your lower two panels removed.
- Safety First: Do not put your hands, fingers, or arms inside the lower portion of your dishwasher while it’s running. Ensure that no children or pets are around during this test.
- Procedure: Run a test cycle, preferably on a short or diagnostic mode if available. Observe (without touching) the areas you’ve worked on to see if any leaks persist.
- Outcome: This will help you pinpoint the exact location of your leak, confirming whether the issue has been resolved or if further action is needed.
Conclusion: Why Is My Dishwasher Leaking?
The common causes of a dishwasher leak can range from a simple loose fitting to a more complex issue with the pump and motor. With careful inspection and following the guidance provided, you can diagnose and fix the problem yourself.